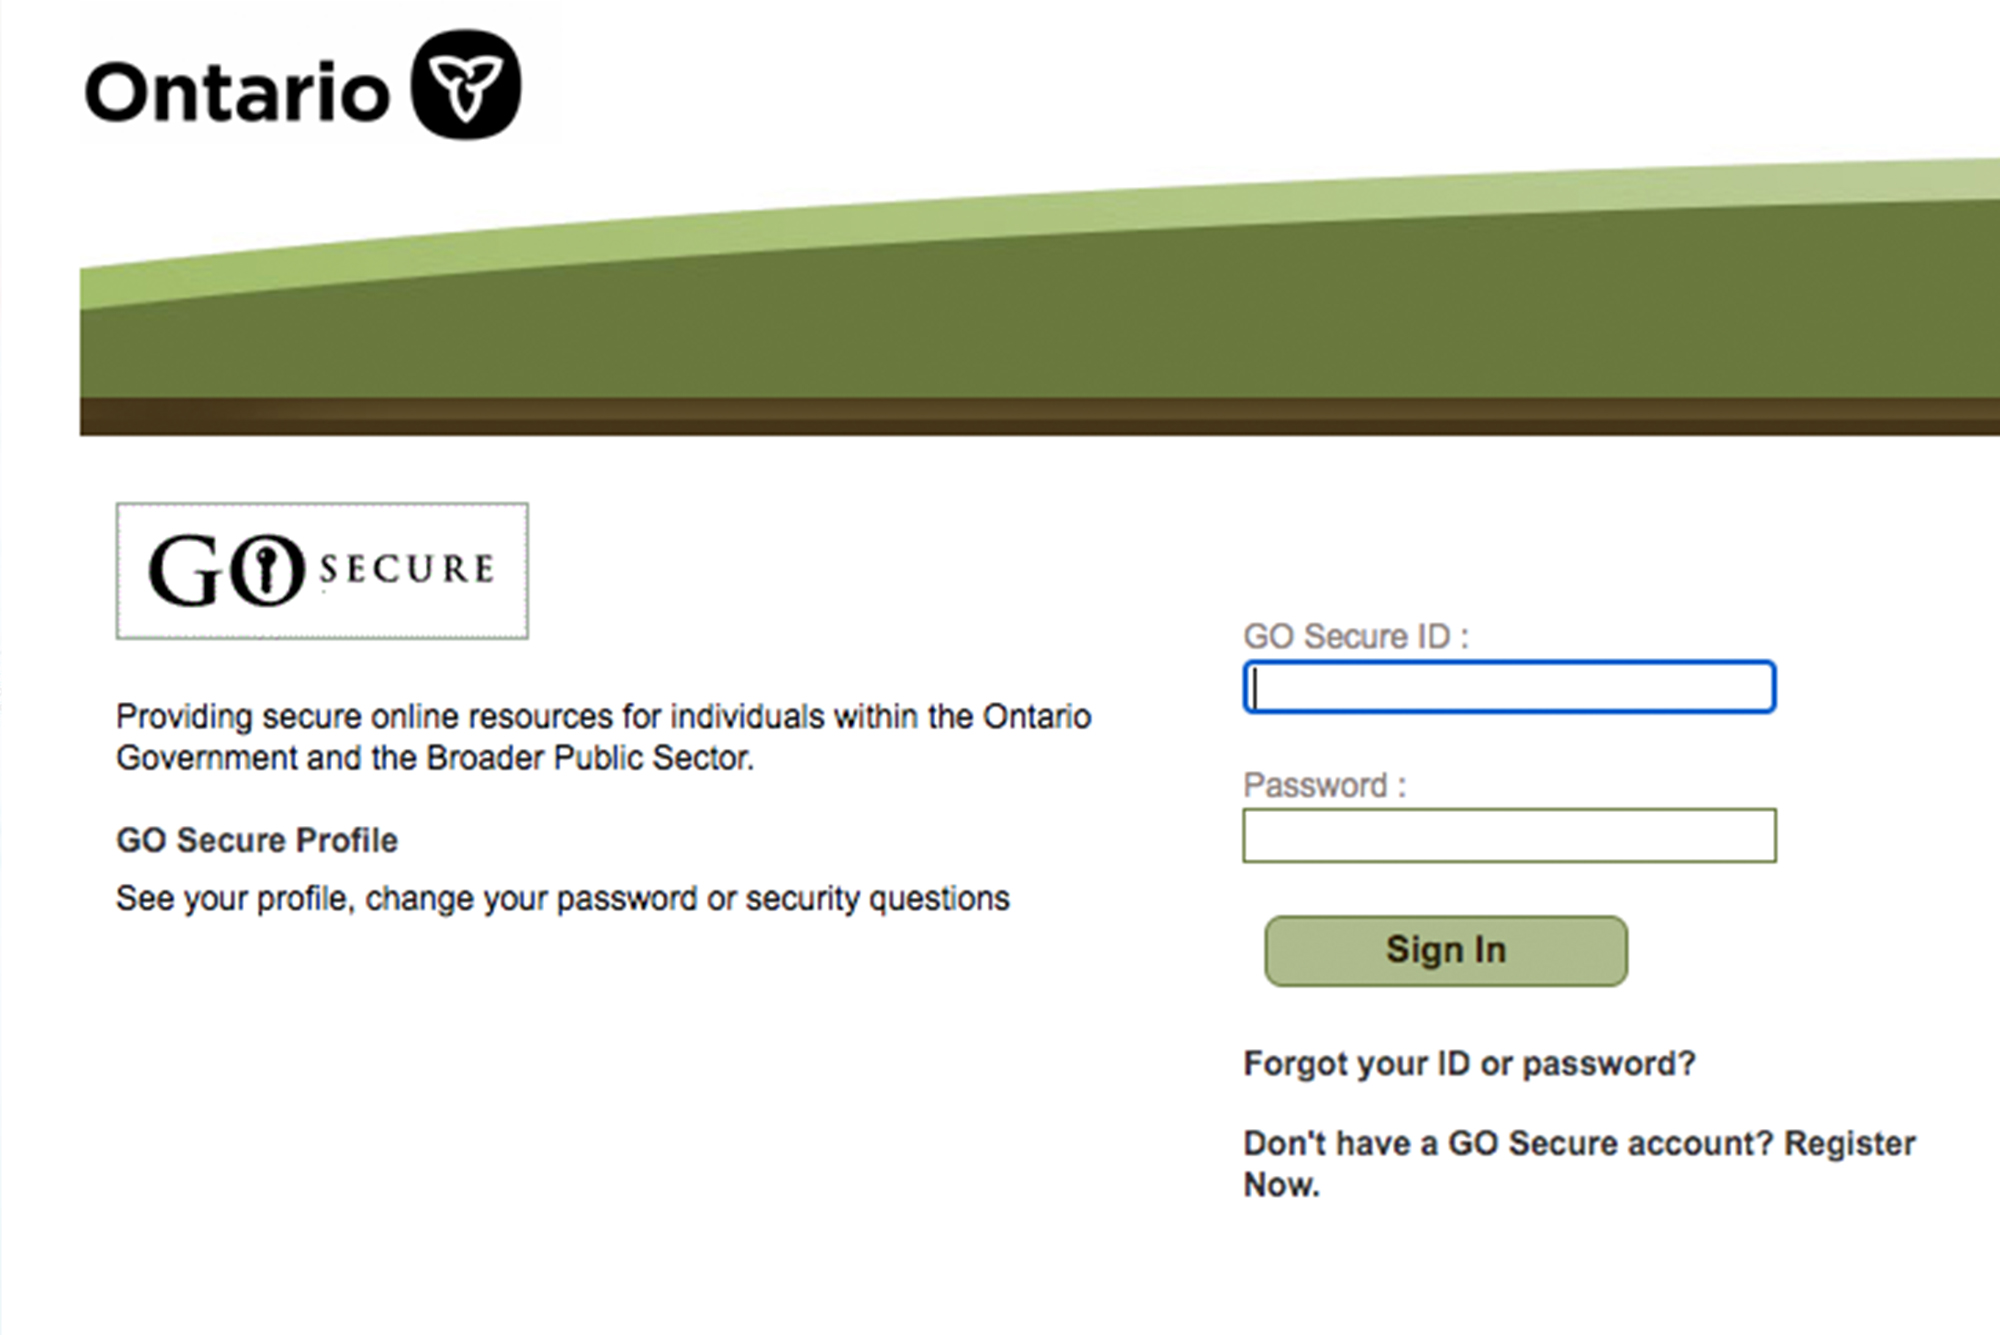
OPS BPS Secure (formerly Go Secure) is the official system Ontario uses to access Ontario Public Services online. It’s where you have access to the Medical Claims Electronic Data Transfer (MC EDT) system that allows you to share data with the Ministry.
You cannot bill in Ontario without first setting up these 2 accounts.
If you plan on submitting claims electronically, you will also need to designate a software system that is authorized to upload and download files for you.
The Ministry of Health Registration Letter
In order to complete your OPS BPS Secure/MC EDT account setup you need to have already received a registration letter from the Ministry of Health.
This contains two 'unique identifiers' or codes, that you’ll need to enter during the setup process.
This letter is sent to you after you register for an OHIP billing number. If you don't have this letter and you already have a valid billing number, contact the Ministry of Health by email or phone: 1-800 262-6524 to have one re-issued.
Once you have your registration letter and the unique identifiers, follow along with the steps below in order to complete your registration with OHIP:
- Set up Your OPS BPS Secure Account
- Account Setup for MC EDT
- Assign a Designee
- Health Card Validation (HCV)
1. Set up Your OPS BPS Secure Account
As briefly mentioned above, if you’re a doctor working in Ontario, under the fee-for-service model, you need to have an OPS BPS Secure account.
OPS BPS Secure is an Ontario government owned website and web service that allows you to access the medical claims electronic data transfer (MC EDT) system that transmits electronic files to the ministry (i.e., your OHIP Claims).
Since your claims contain confidential patient information having an OPS BPS Secure account is mandatory.
***You must register for an OPS BPS Secure account to be able to enrol and access MC EDT.
Your OPS BPS Secure account is also where you’ll receive your Remittance Advice (RA) report and a Claims Error Report. These reports summarize which claims have been approved, paid with adjustment, rejected or have errors that need to be changed before getting paid.
How to Set up your OPS BPS Secure Account in 5 Easy Steps
Step 1: Go to the OPS BPS Secure login page.
- Click 'New User? Register'.
Step 2: Add Your Personal Details
Step 3: Create Your Password
- Try to create a unique password that you don’t use for anything else (and don’t forget to write it down)!
Step 4: Accept the Terms & Conditions
Step 5: Email Confirmation
2. Account Setup for MC EDT
While OPS BPS Secure is the secure website that allows claim transfers between you and the ministry, the MC EDT system is the secure method of actually transferring those claims.
Once you’ve set up your OPS BPS Secure account you can enrol in MC EDT.
How to Set up MC EDT in 3 Easy Steps
Step 1: New User
Head over to the OPS BPS Secure Login and sign in with the password and username you just created in step 1.
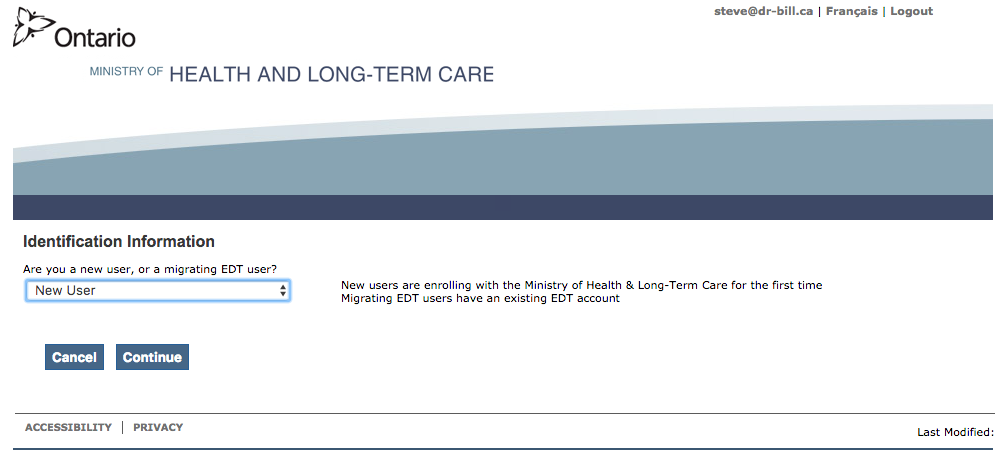
If you haven't ever set up a MC EDT account before, leave the selection as 'New User'. If you're migrating from the old MC EDT system, select 'Migrating EDT User'. then continue. In most cases you'll be selecting 'New User'.
If you aren't sure, contact us here and we’ll help you.
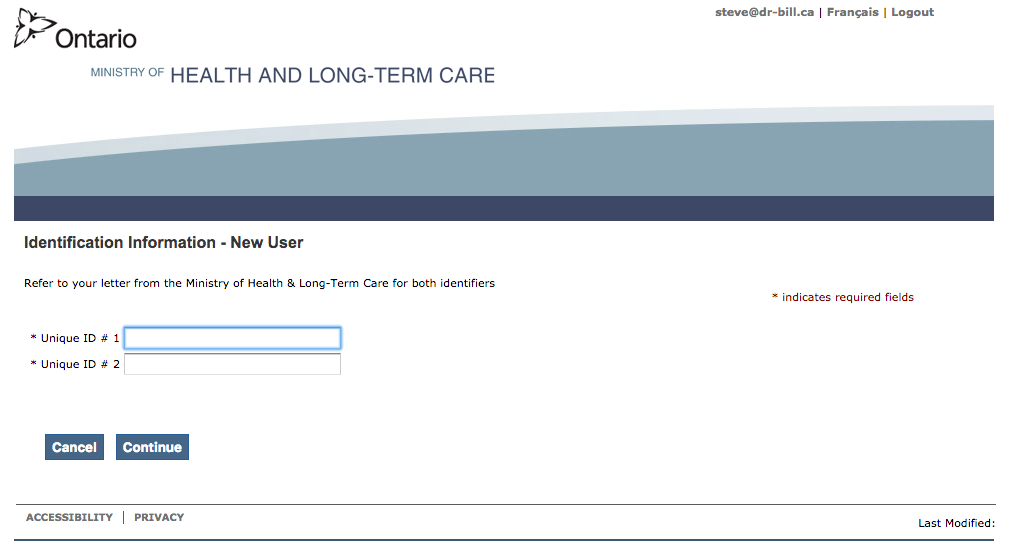
Step 2: Enter Your Unique Identifiers
These are contained in the letter that was mailed to you by the Ministry of Health.
Step 3: Acceptable Use Policy
Click the 'Accept' button to accept the terms of use for the system.
Your registration is complete!
3. Designate your Billing Service
Now that you are registered with OPS BPS Secure and MC EDT, you need to connect it to a billing software who can submit claims and download OHIP reports for you.
***If you don’t designate a 3rd party software system, you need to log into OPS BPS Secure each time you create a claim and manually upload/download files. However, you will still need to use a 3rd party software system to create the correct claim file for submission, as the file needs to meet certain technical specifications.
Note: You can have several designees, for example if you’re billing in multiple places. Adding a new designee won't affect any existing billing arrangements you have.
Setting up your OPS BPS Secure Designee is a 2 part process:
- Add Dr.Bill or MDBilling.ca as a Designee on your OPS BPS Secure Account (Steps 1 through 4)
- Part B: Authorize Dr.Bill or MDBilling.ca to submit claims on your behalf (Steps 5 & 6)
Part A: Designee Maintenance
Step 1: Designee Maintenance
Log into your OPS BPS Secure account and click on Designee Maintenance (Add, Remove, Update).
Step 2: Add a Designee
Click the ‘Add Designees’ button.
Step 3: Add Designee Details
- To add Dr.Bill as a Designee, type “Dr.Bill” into the Full Name field and the email address ohip@dr-bill.ca into the Email field.
- To add MDBilling.ca as a Designee, type “MDBillingCA EDT” into the Full Name field and the email address edt02@mdbilling.ca into the Email field.
Step 4: Confirm Designee
You'll be asked to confirm the Designee you just added.
Part B: Authorize Dr.Bill to Submit Claims
Give Dr.Bill/MDBilling.ca Permission to Submit Claims
After you complete Step 4, an email is sent to our team by OHIP. We have to confirm your request to add us as a Designee.
If you've initiated your request during normal business hours this happens within an hour. On evenings & weekends it will take longer, but no more than 24 hours.
After we confirm your request OHIP we will send you an email notifying you that we've completed the designee process. Click on the link in this email and log back into your OPS BPS Secure account and complete Steps 5 & 6 below.
Step 5: Manage Designee Permissions
Follow the link in your email back to the OPS BPS Secure website and navigate back to Designee Maintenance. You'll see a table with a list of Designated Accounts. Click on the email address—either ohip@dr-bill.ca or edt02@mdbilling.ca. This links you to the next page.
Step 6: Grant Dr.Bill Permission to Submit Your Claims
You now need to give us permission to submit claims on your behalf. Choose the Select All button, then Save at the bottom of the page.
Step 7. Final Confirmation
You're done! Our system will send you a final confirmation email indicating your connection with us is complete. This email is sent once a day, so it can take up to 24 hours to receive it.
If you don't receive it, get in touch with us by initiating a chat using the chat button in the bottom-right of the screen (on the web app).
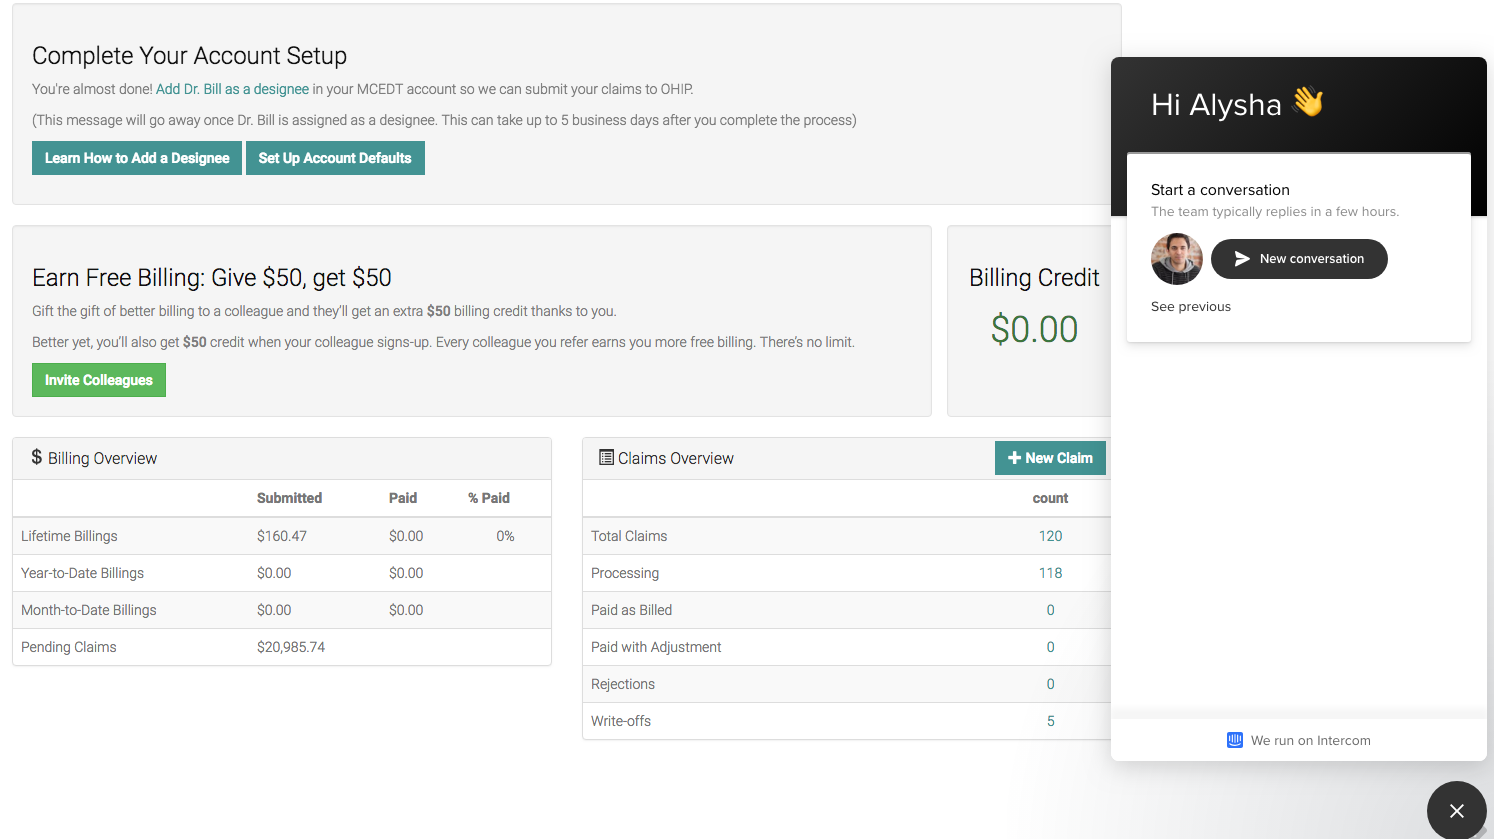
Or on your smartphone, tap 'Account' then 'Get Help' and the chat widget will launch. We’ll respond exactly the same way.
Health Card Validation (HCV)
You are enrolled in HCV when you receive your OHIP Billing number (details are outline in the registration letter that contains your MC EDT unique identifiers).
Enrolment simply means you’re given a unique PIN which you can use to call the 1-800 line to verify if your patient’s health card is valid.
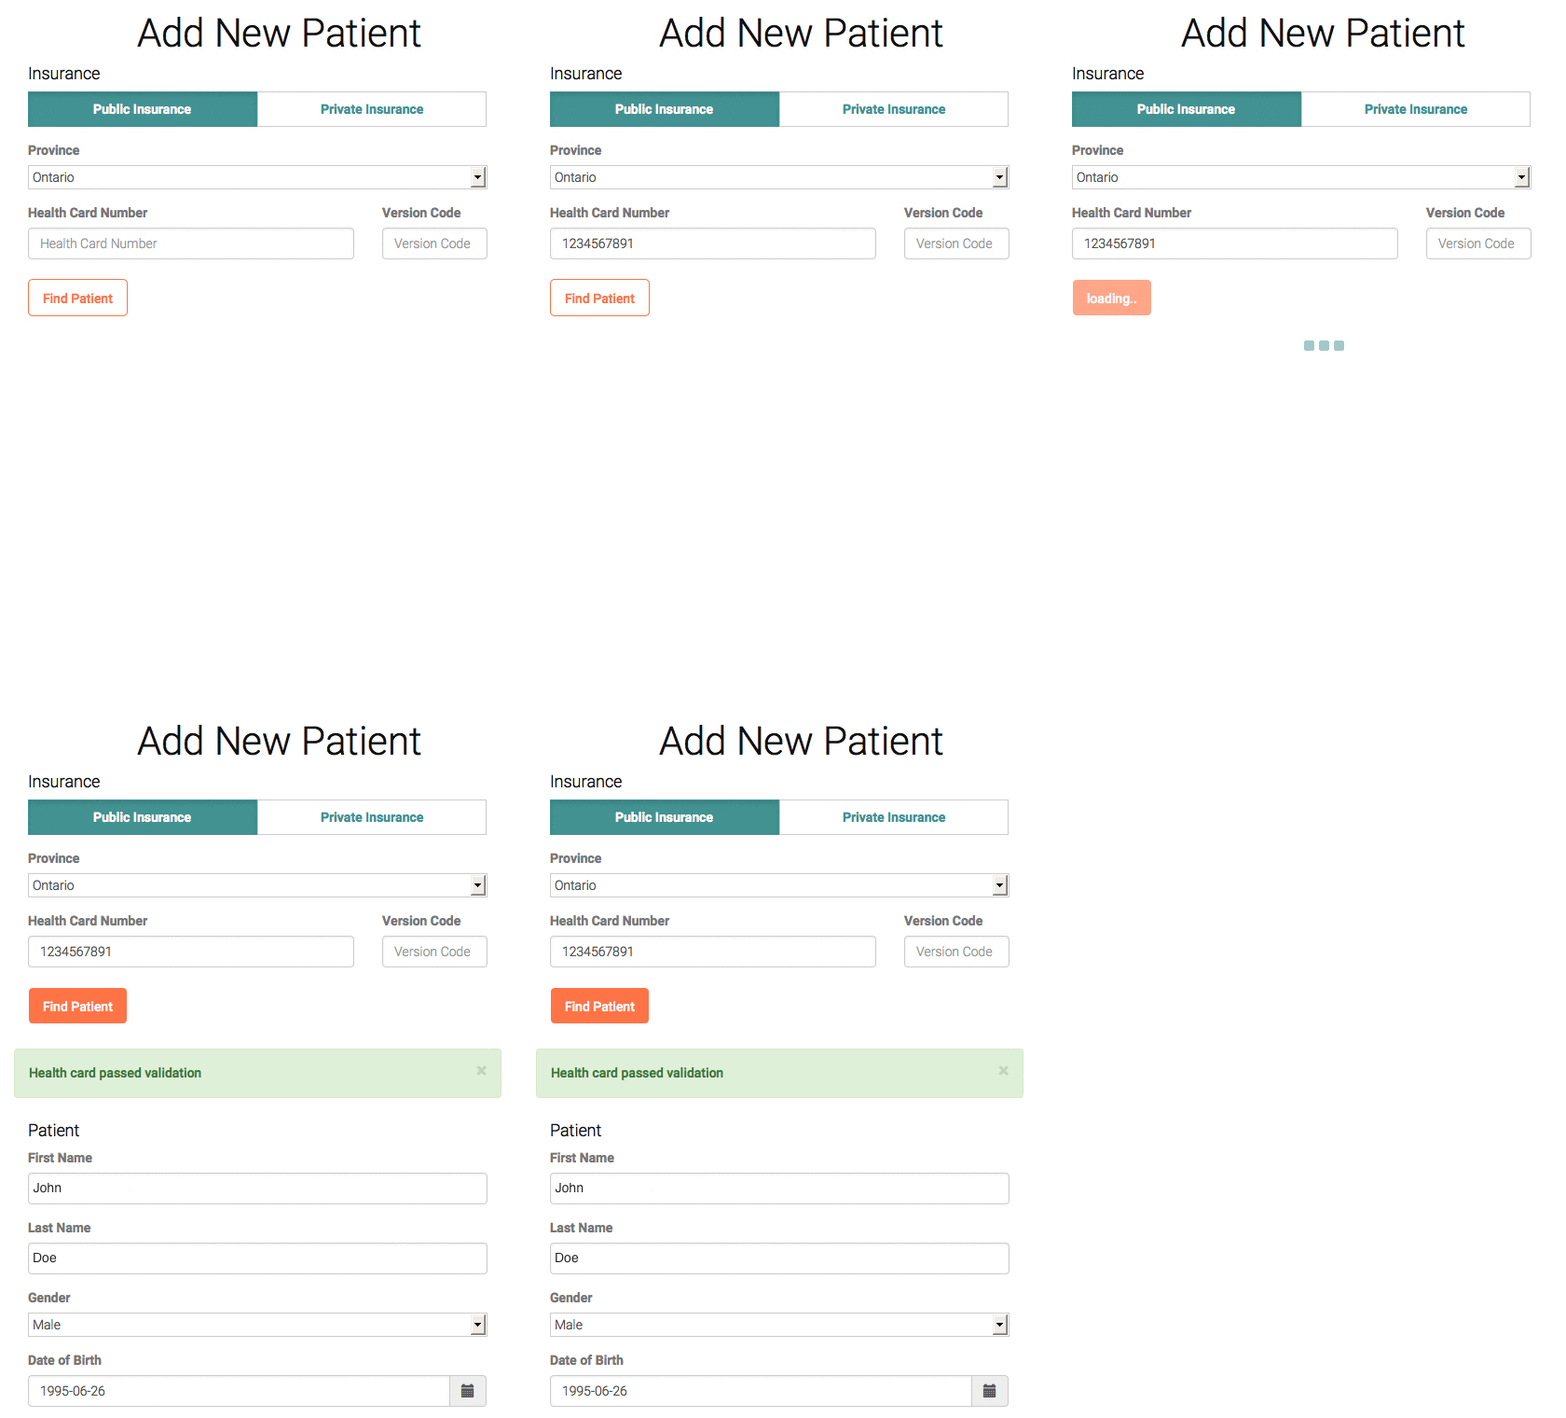
We understand that calling a toll-free number every time you see a patient is very time consuming, that’s why at Dr.Bill we run eligibility checks on each new patient you add. If they're not insured we let you know with an Alert.
If you have any questions about setting up your OPS BPS Secure account don’t hesitate to contact us. We’ll help you troubleshoot any problems you might be having.
Looking to optimize your billing and automate claim submission? Check out the Ultimate OHIP Billing Guide that takes you through every step to successfully bill in Ontario.
Solutions Designed For The Unique Needs Of Your Practice
Get a $150 Credit when you sign up for Dr.Bill*. No credit card required.
